How to Prepare Your Home for Water Heater Installation Services?
Preparing your home for water heater installation involves several important steps that ensure a smooth, hassle-free experience. While leaving everything to the installation team is tempting, taking certain preparatory actions beforehand can make the process quicker and safer. We will explore how you can ready your home, remove potential obstacles, and set the stage for a successful installation. Additionally, adequately preparing can help minimize potential problems, save time, and reduce stress. Proper preparation is the key to success, whether installing a new system or replacing an old one.
Clear the Installation Area
One of the most important steps in preparing for water heater installation by All-Star Plumbing is clearing the area where the unit will be placed. Water heaters are typically installed in basements, utility rooms, or closets, but it’s important to create ample space around the installation area regardless of location. Move any boxes, tools, or stored items to make the area easily accessible. This gives the installer enough room to maneuver and eliminates potential hazards that could lead to accidents. Take the time to assess the entire pathway the installers will take to move the new heater into position, ensuring no obstacles are in the way.
It’s also essential to check for any fragile or valuable items nearby. The movement of heavy equipment, tools, and people can unintentionally lead to damage. By clearing the space thoroughly, you can avoid potential mishaps. This also helps the professionals work more efficiently without worrying about breaking anything or constantly adjusting their positioning. If the installation site is confined, consider relocating furniture or other items that may restrict movement, allowing for a more seamless process.
Turn Off Utilities and Drain the System
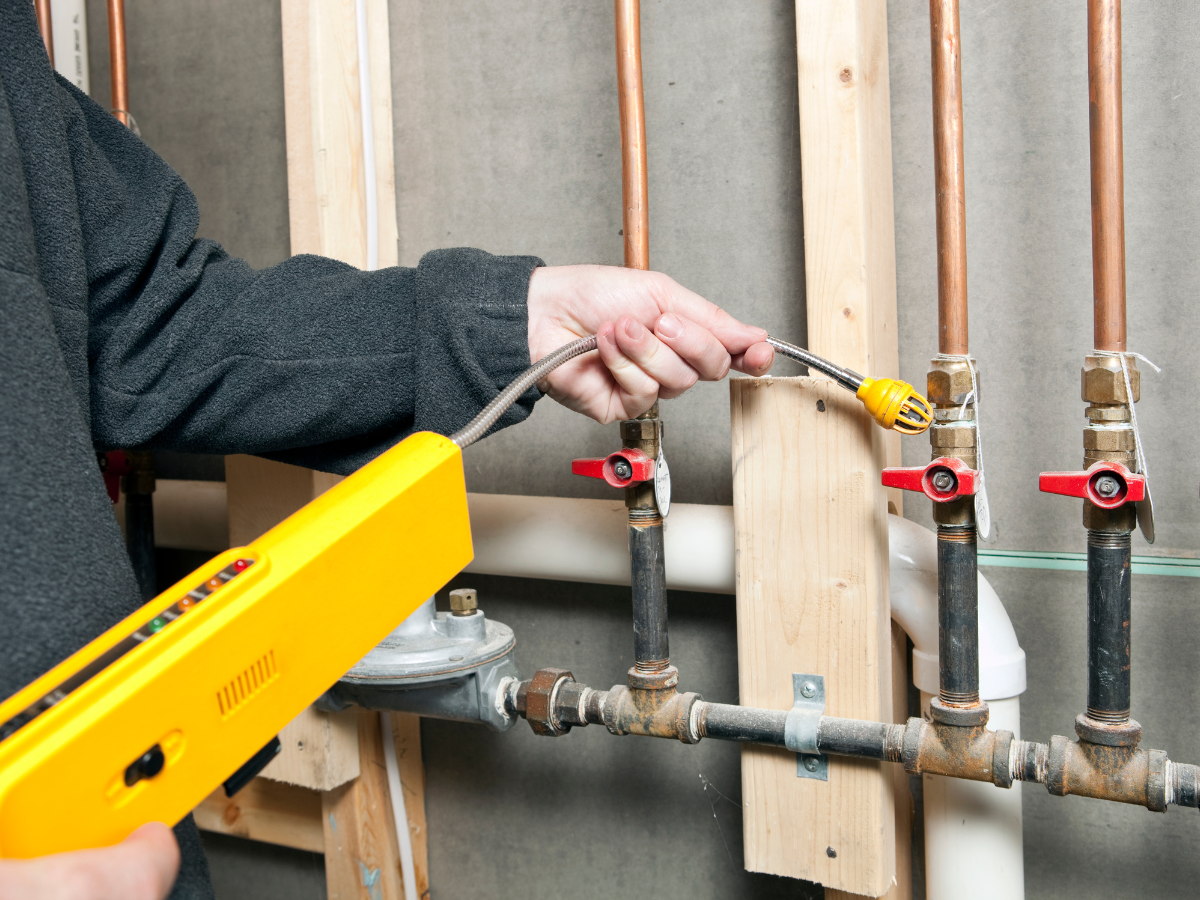
Another vital step in preparing for a water heater installation is turning off the utilities connected to the current water heater, such as the gas or electricity. This is crucial for safety reasons, as it minimizes the risk of accidents during the installation process. Before the installation team arrives, ensure you can turn off these utilities. For gas-powered heaters, locate the gas valve and close it. If you’re dealing with an electric unit, find the breaker and turn it off. This step prevents any gas leaks or electrical hazards during the removal of the old unit and the installation of the new one.
After turning off the utilities, you’ll also need to drain the old water heater. This process involves connecting a garden hose to the heater’s drain valve and leading the water to a floor drain or an appropriate outdoor area. Make sure the water has completely drained before the installation crew arrives. This will speed up the removal process, ensuring the old unit can be removed immediately. Draining the heater also prevents water damage to your floors, especially if the heater is stored in an attic or upper-level room. It’s a prudent step that makes the entire operation smoother for the installation team and the homeowner.
Ensure Ventilation and Accessibility
Water heaters, particularly gas-powered models, require proper ventilation to prevent the buildup of harmful gases such as carbon monoxide. Before installation, assess the ventilation system and determine if it functions correctly. If you’re unsure, have a professional evaluate the vents and chimneys. In older homes, venting systems may not meet modern codes or standards, which could mean modifications are needed before the new heater can be installed. Proper ventilation ensures safety and allows your new heater to operate efficiently, avoiding future issues like back-drafting.
In addition to ventilation, accessibility to the installation area is paramount. Ensure the pathways to and from the installation site are wide enough to accommodate the heater and any necessary equipment. Stairs, narrow hallways, and doorways can present challenges, so it’s important to measure these areas and make adjustments if necessary. If doors need to be temporarily removed or furniture shifted to provide better access, handle this before the installation crew arrives. If accessibility becomes an issue, it could lead to delays or extra costs, so addressing this in advance is key to a successful installation day.
Preparing your home for water heater installation services requires attention to detail and forward planning. Each step is essential to ensure a smooth and efficient process, from clearing the installation area to turning off utilities and draining the system. By providing proper ventilation accessibility and having a disposal plan for the old unit, you can help make the job easier for the installers and avoid unnecessary delays. It’s also important to be flexible in case of unexpected issues while having a backup plan for your household’s hot water needs. Taking these steps will make the installation faster and safer, protecting both your home and the equipment being installed.


